
Base metal
Identify the proposed frame material and profile. Confirm its suitability for the intended room and cleaning regime.
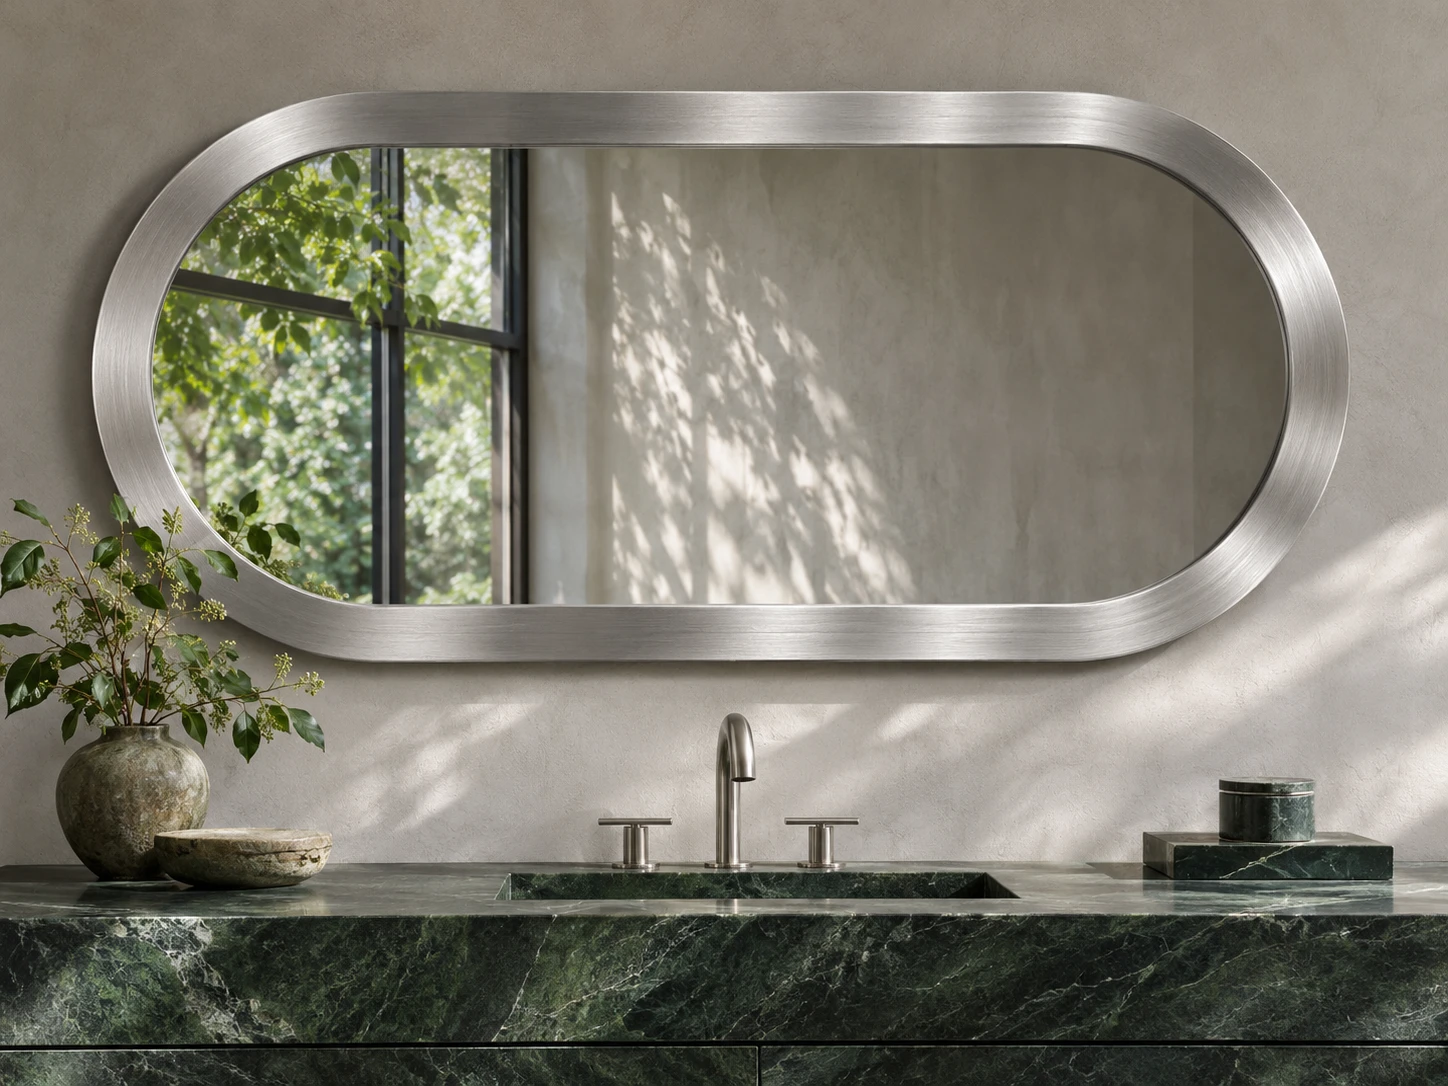
MY MIRROR PLUS / Frame finish collection
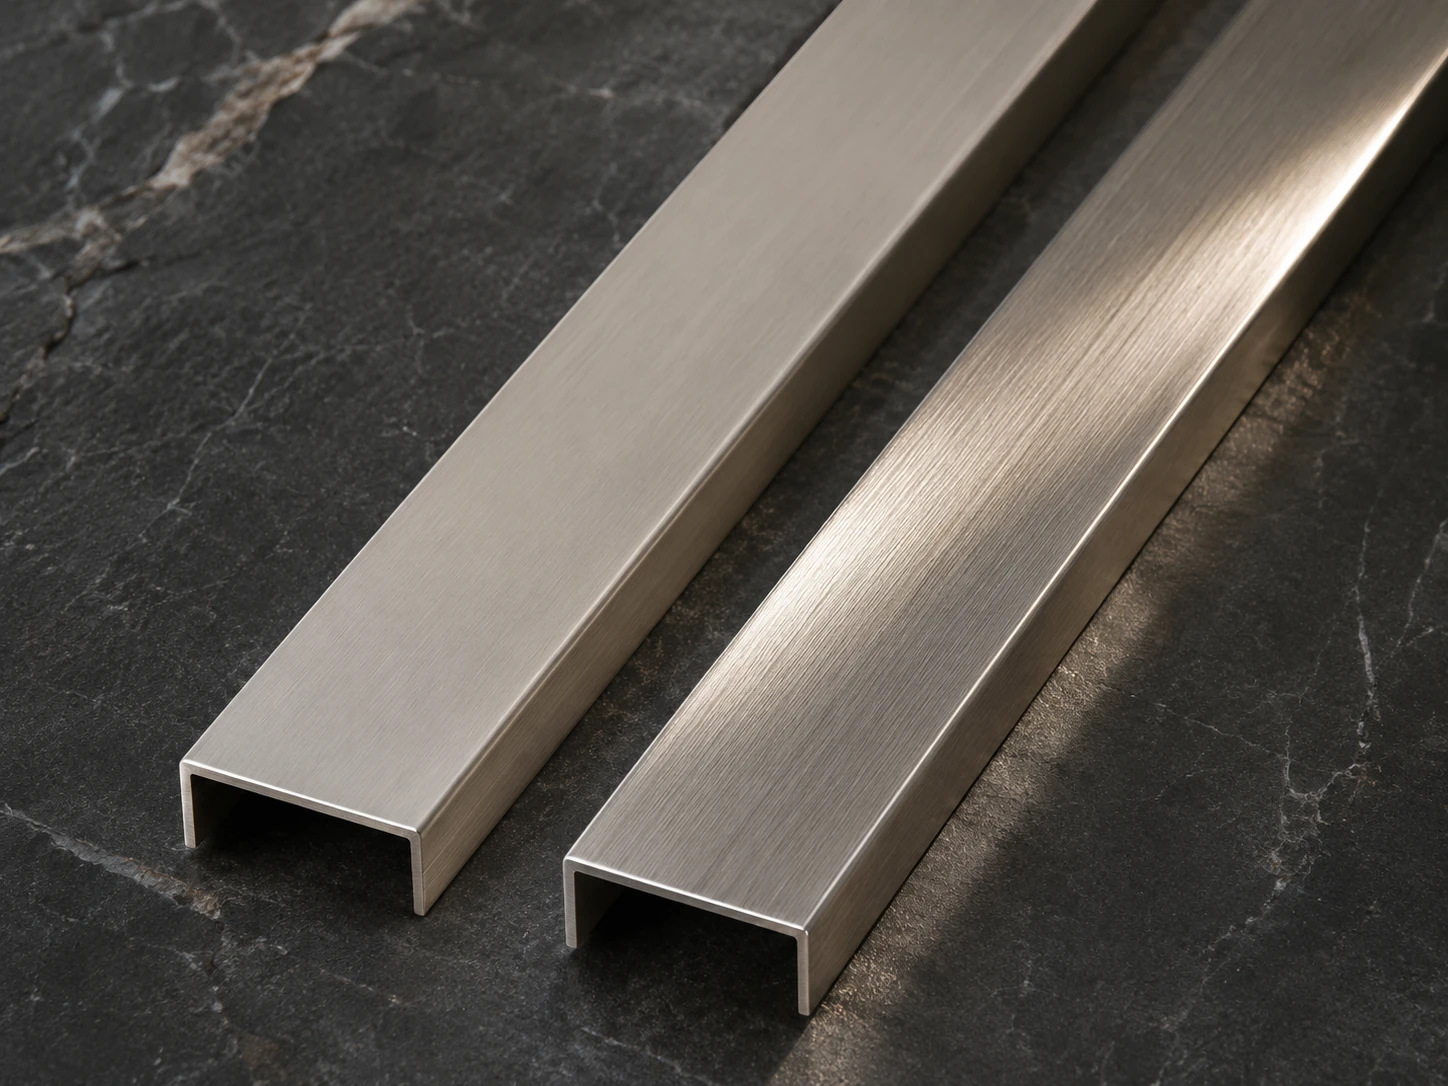
Fine parallel lines catch the light along a metal rim. Explore silver, pewter, bronze and graphite finishes for vanity mirrors and dressing-room collections.
View Mirror DesignsMaterial notes
Identify the proposed frame material and profile. Confirm its suitability for the intended room and cleaning regime.
Use arrows on the drawing to show how lines travel around the face, sides and curved sections.
Compare the finished metal beside the approved tap or handle. Record the physical sample reference.
Mark the join locations and decide how the grain should meet across them. Review a finished corner before sign-off.
Design selection
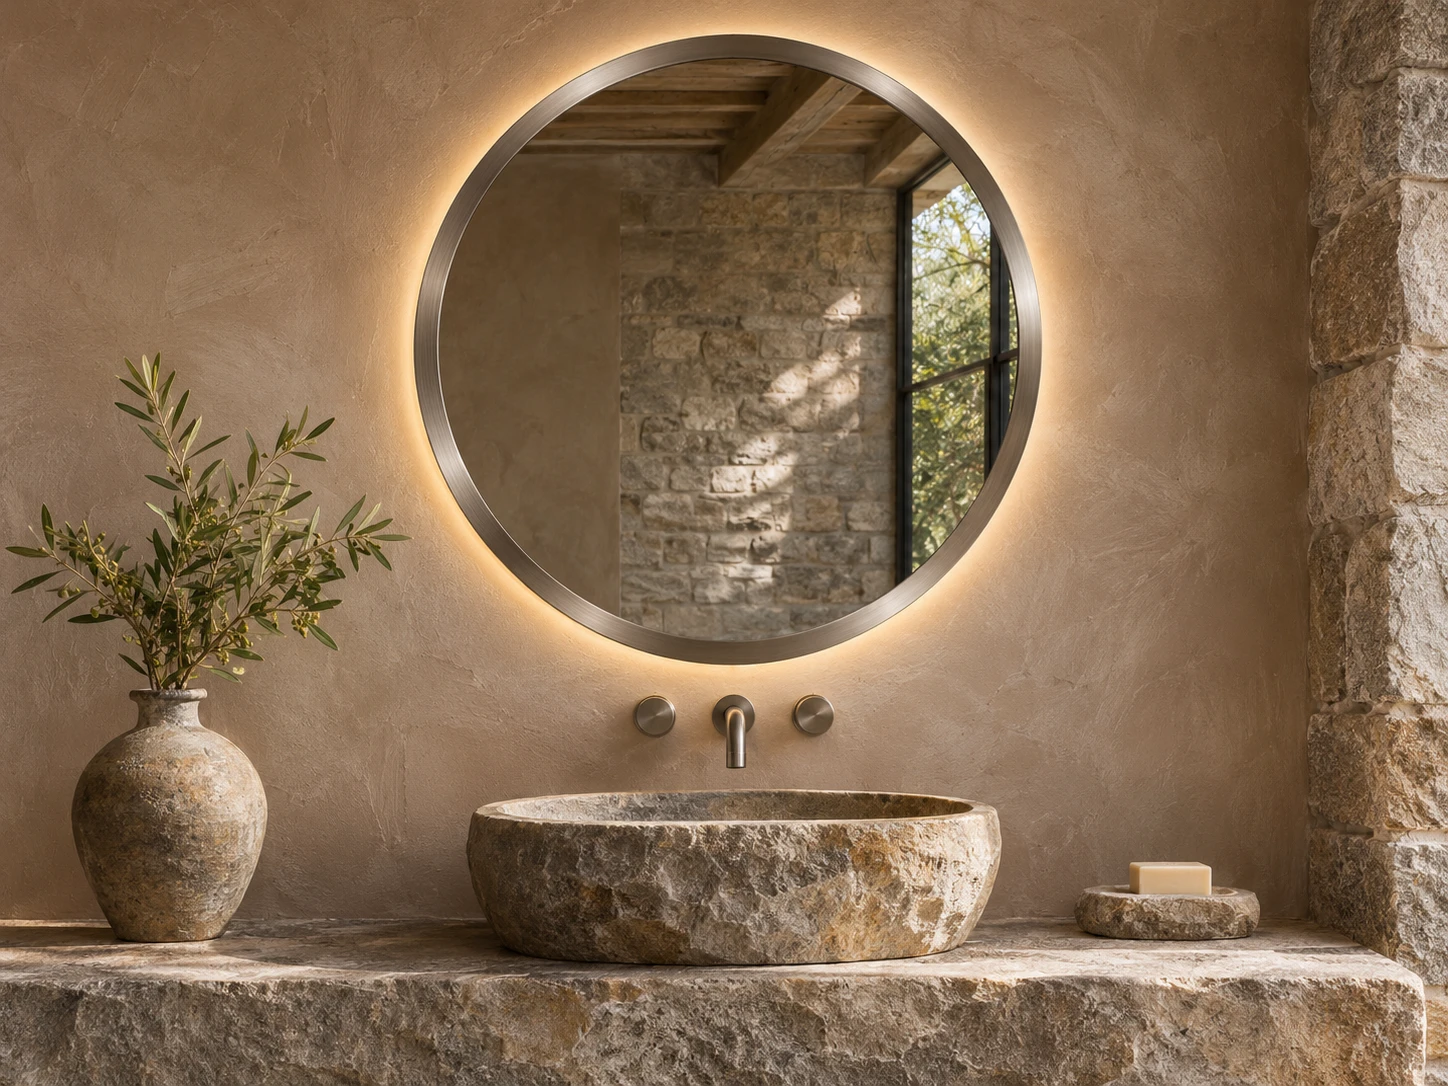
Brushed pewter tone / Backlit
A round rim gives a single basin a clear centre. Review the grain around the bend and the halo against the specified wall finish.
Specify This Mirror
Brushed bronze tone / Non-lit
A warm brushed finish picks up daylight along the crown. Confirm the transition from the vertical sides into the arch on the sample.
Specify This Mirror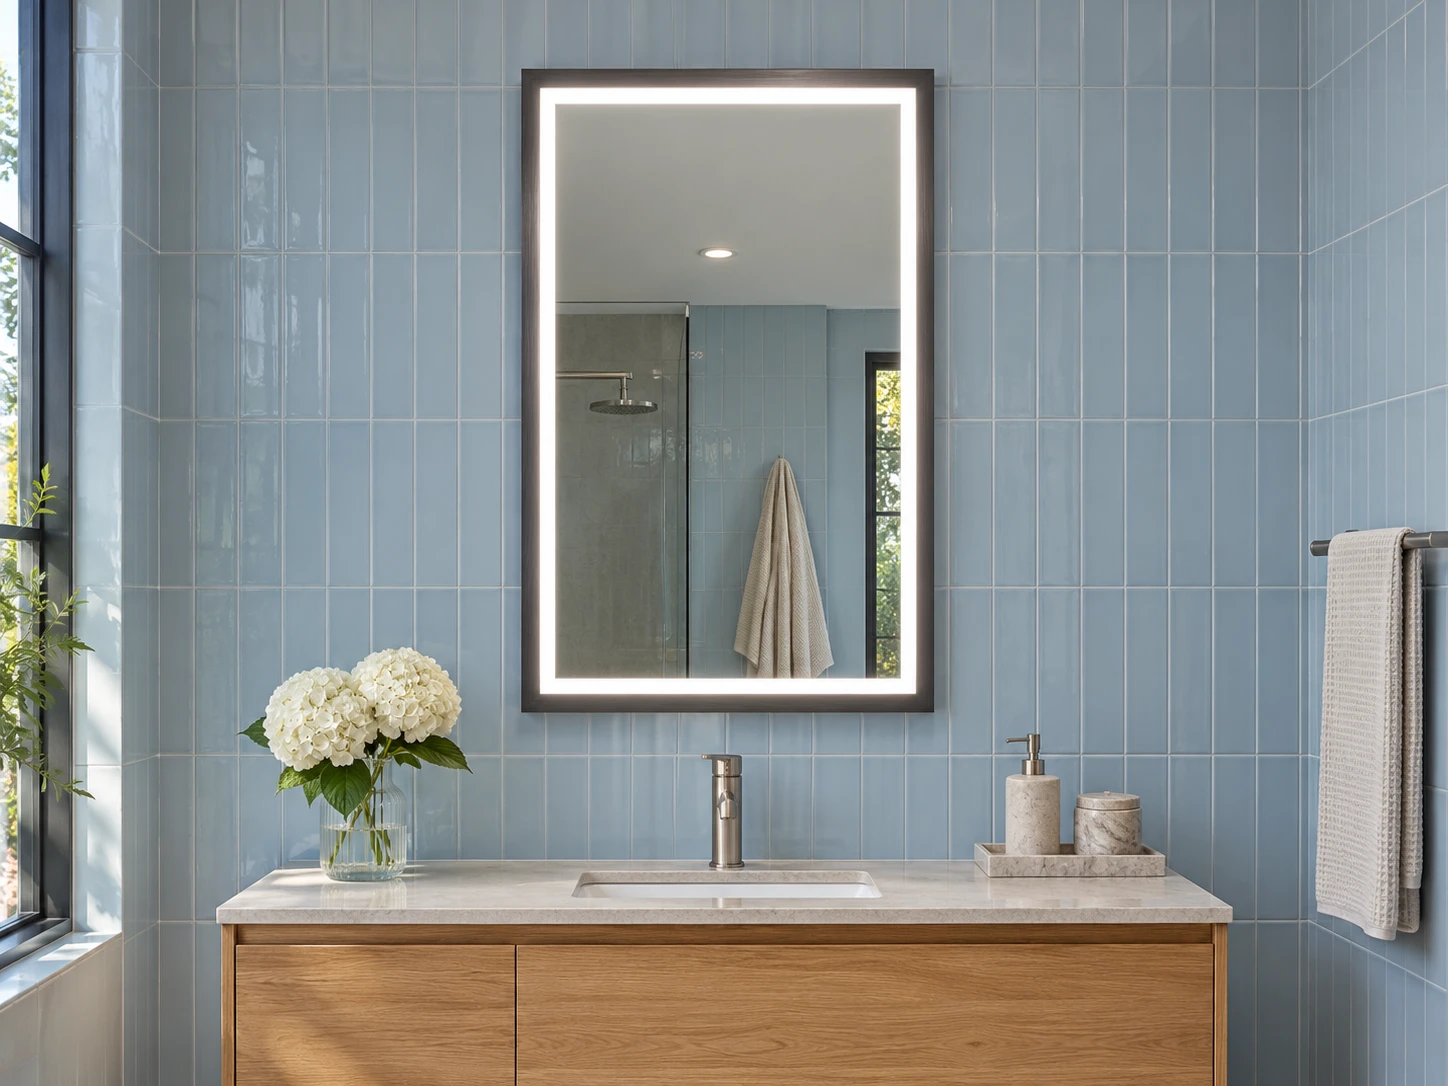
Brushed graphite / Front-lighted
An illuminated band sits inside the dark metal border. Dimension the visible frame face and diffuser separately on the shop drawing.
Specify This MirrorConcept renders illustrate shape and light placement. A physical sample sets the reference for grain, colour and gloss.
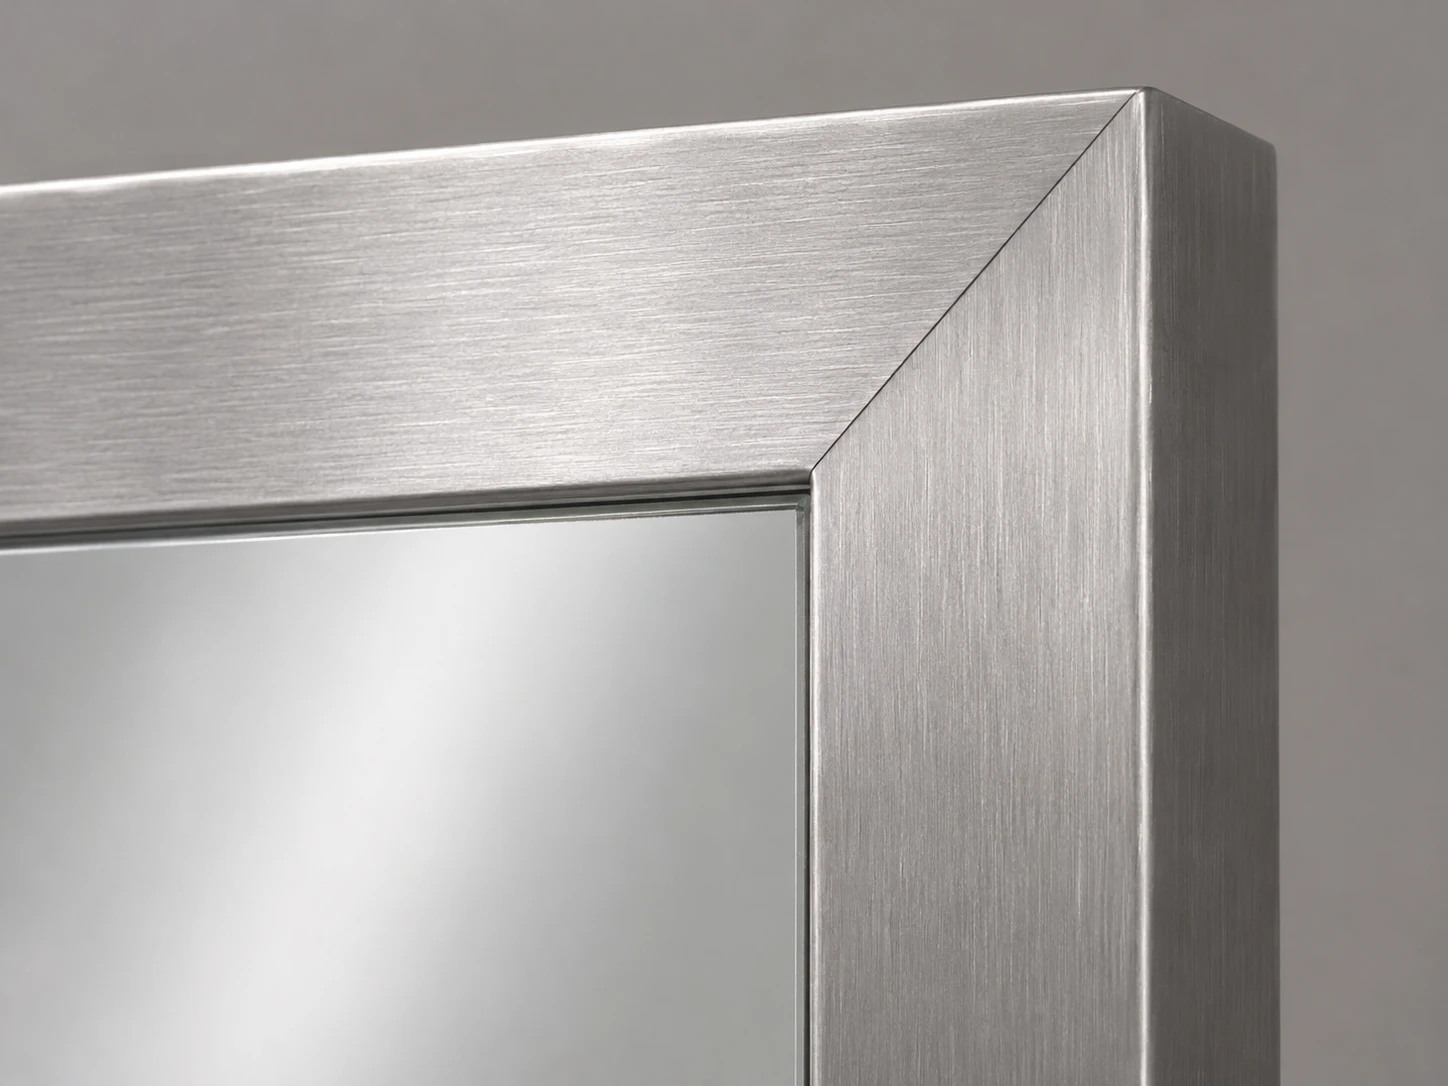
Fabrication detail
Sample inspection
Lay two samples in the same orientation. Compare their tone under diffuse light, then move a light across the surface at a shallow angle to reveal the brushing.
Repeat the comparison in the mock-up room with the proposed wall tile and tapware. Record the viewing direction and lighting used for approval.
Installation brief
Coordinate mount position and side depth with the vanity elevation. Check where sconces reflect in the glass.
Allow space behind the return for the proposed light path. Use the actual wall finish when evaluating the halo on a mock-up.
Locate the diffuser inside the frame and check bright reflections on the brushed face. Confirm control position and service access.
Wholesale and project orders
A room schedule may combine a wide vanity mirror and a tall dressing mirror. Give each configuration a separate drawing while retaining the same approved finish reference.
List room type or SKU, outer size, lighting, quantity and grain orientation for each item.
Keep the signed coupon and a finished corner or curved sample. Identify the revision on the order.
Agree non-abrasive face protection and separate hardware packing. Add model and orientation labels where needed.
Buying checklist
Start with the hardware reference and a dimensioned outline. Use the assembled sample to approve the joints, mounting projection and lighting before releasing the order.
Buyer FAQ
It describes the directional lines visible on the surface. The base metal, colour, surface treatment and sheen each need their own entry in the finish schedule.
Mark the intended direction on each visible face. For a straight frame, show the long and short members separately. For curves, approve how the grain follows the outline on a formed sample.
Send an approved trim piece or finish coupon, its supplier code and the intended room lighting. Compare undertone, grain and sheen together before approving a full frame.
Yes. Keep a shared finish reference and specify the rear construction and mounting depth for each model. Include cable position, controls and light direction for LED versions.
Keep the signed physical sample, drawing revision, finish code and agreed inspection conditions. Link them to each size and lighting variant in the order schedule.
OEM / ODM enquiry
Share your dimensions, order mix and finish reference. Include grain direction or a hardware sample code if your finish schedule already defines them.
sales@mymirrorplus.com