
For the stylist
Plan a useful reflection zone around the seated client, the stylist and the working position.
MY MIRROR PLUS / SALON COLLECTION
From a signature styling station to a coordinated salon rollout. Develop mirrors for salon groups, fit-out contractors, furniture suppliers and private-label brands.
Explore Salon Mirrors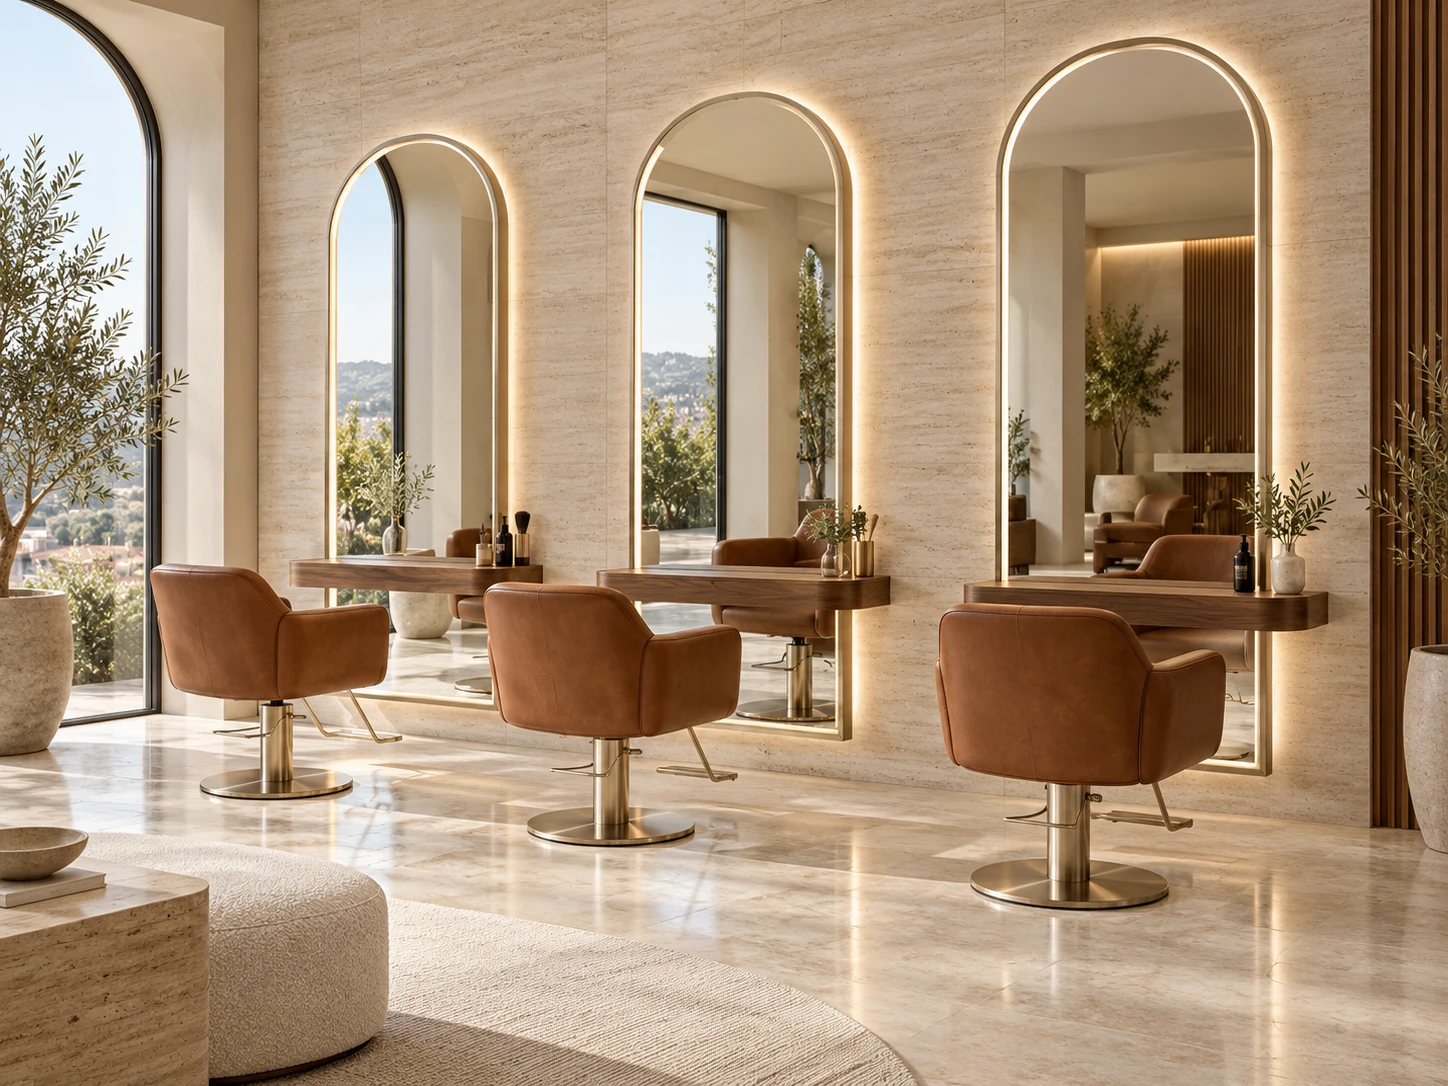
A WORKING SURFACE. A BRAND STATEMENT.
Plan a useful reflection zone around the seated client, the stylist and the working position.
Coordinate mirror shape, frame finish and lighting with chairs, joinery and the room palette.
Define repeatable specifications, quantities and packing for each station and each location.
FOUR STATION DIRECTIONS
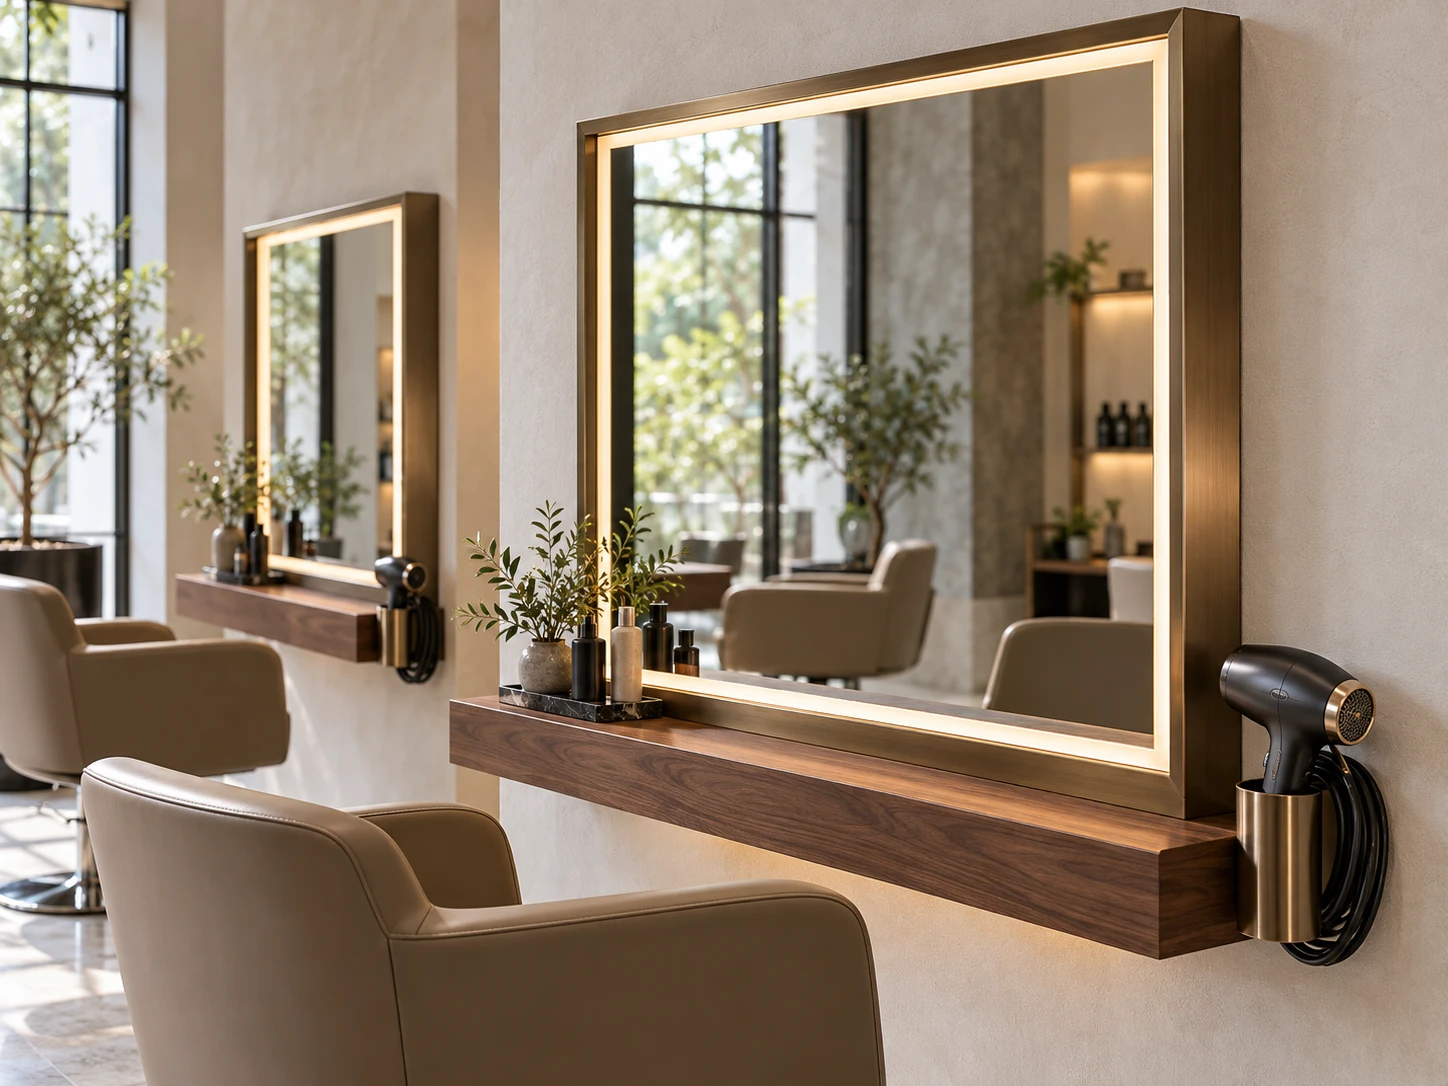
Wall-mounted / Front light
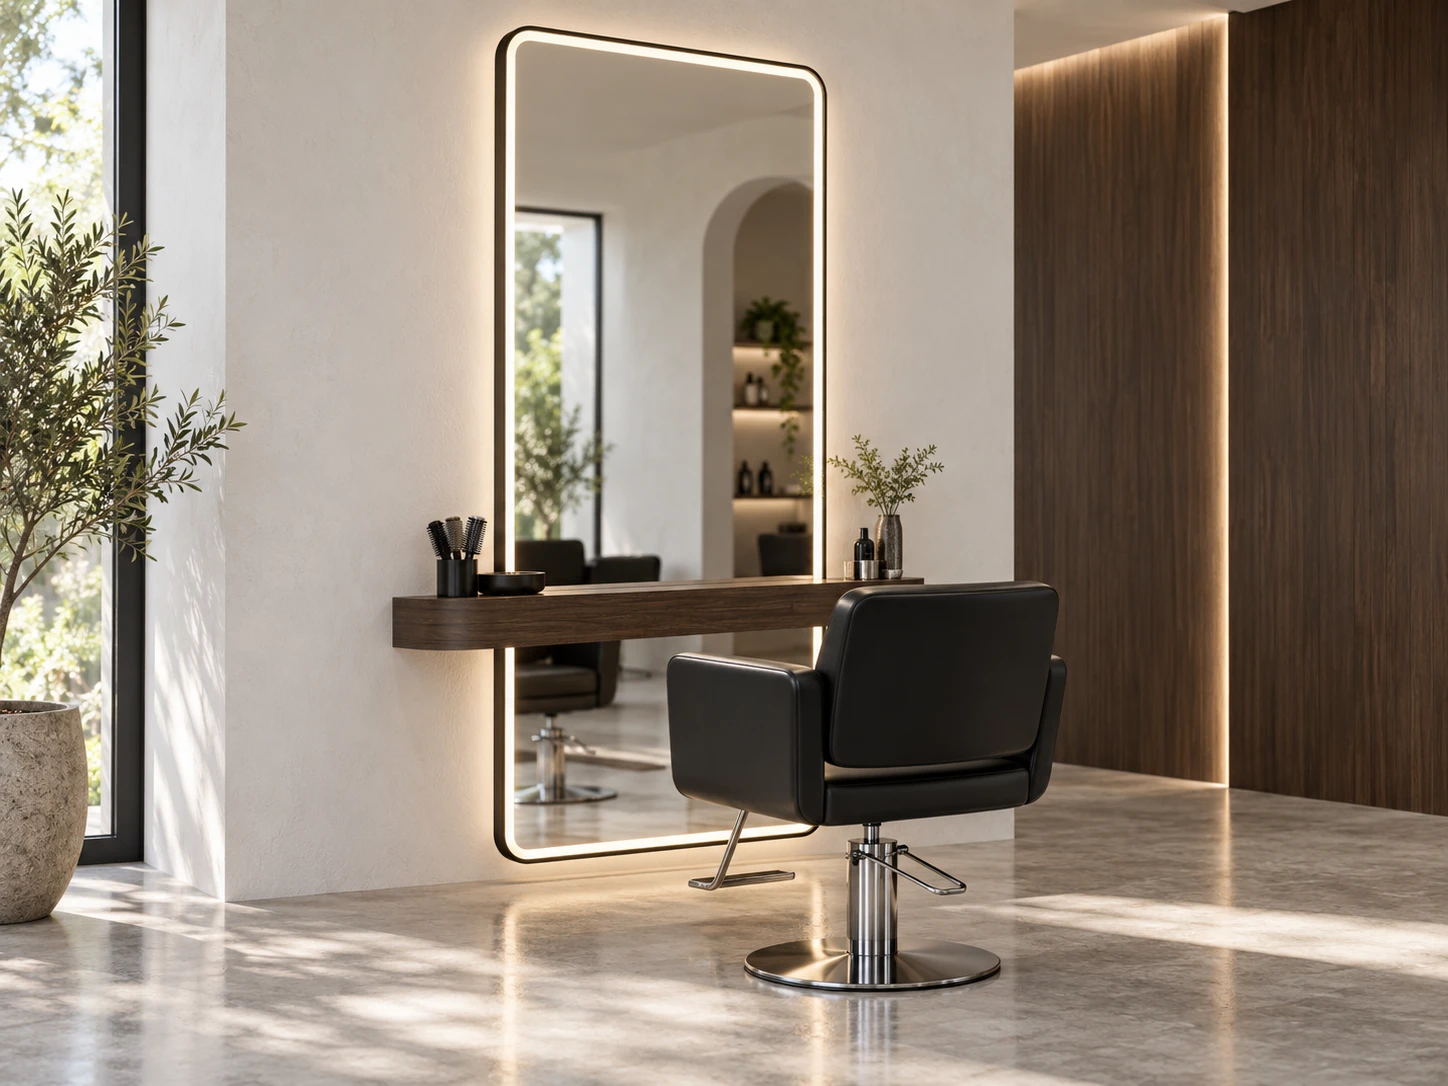
A defined reflection zone for a dedicated styling position. Plan the mirror, chair centre and work ledge as one elevation.
Specify glass dimensions, light-band width and cable exit.
Build This Brief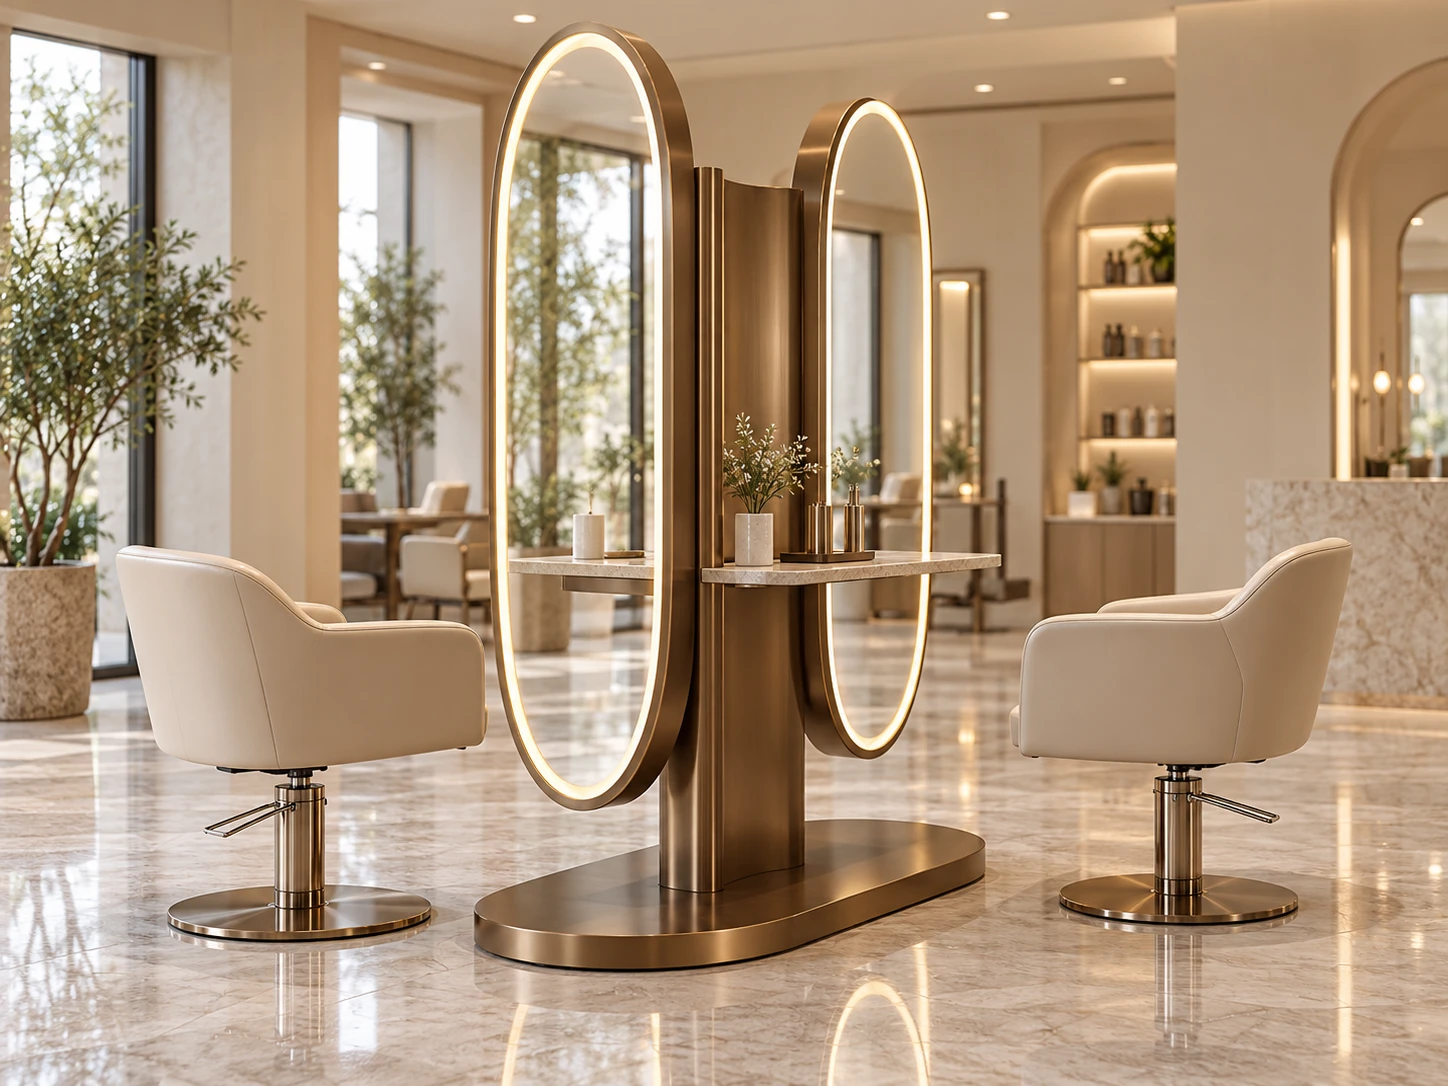
Freestanding / Two working faces
Two opposing mirror faces create stations away from perimeter walls. The supporting structure is part of the design brief.
Review the base, stability, floor fixing and service route for the complete assembly.
Build This Brief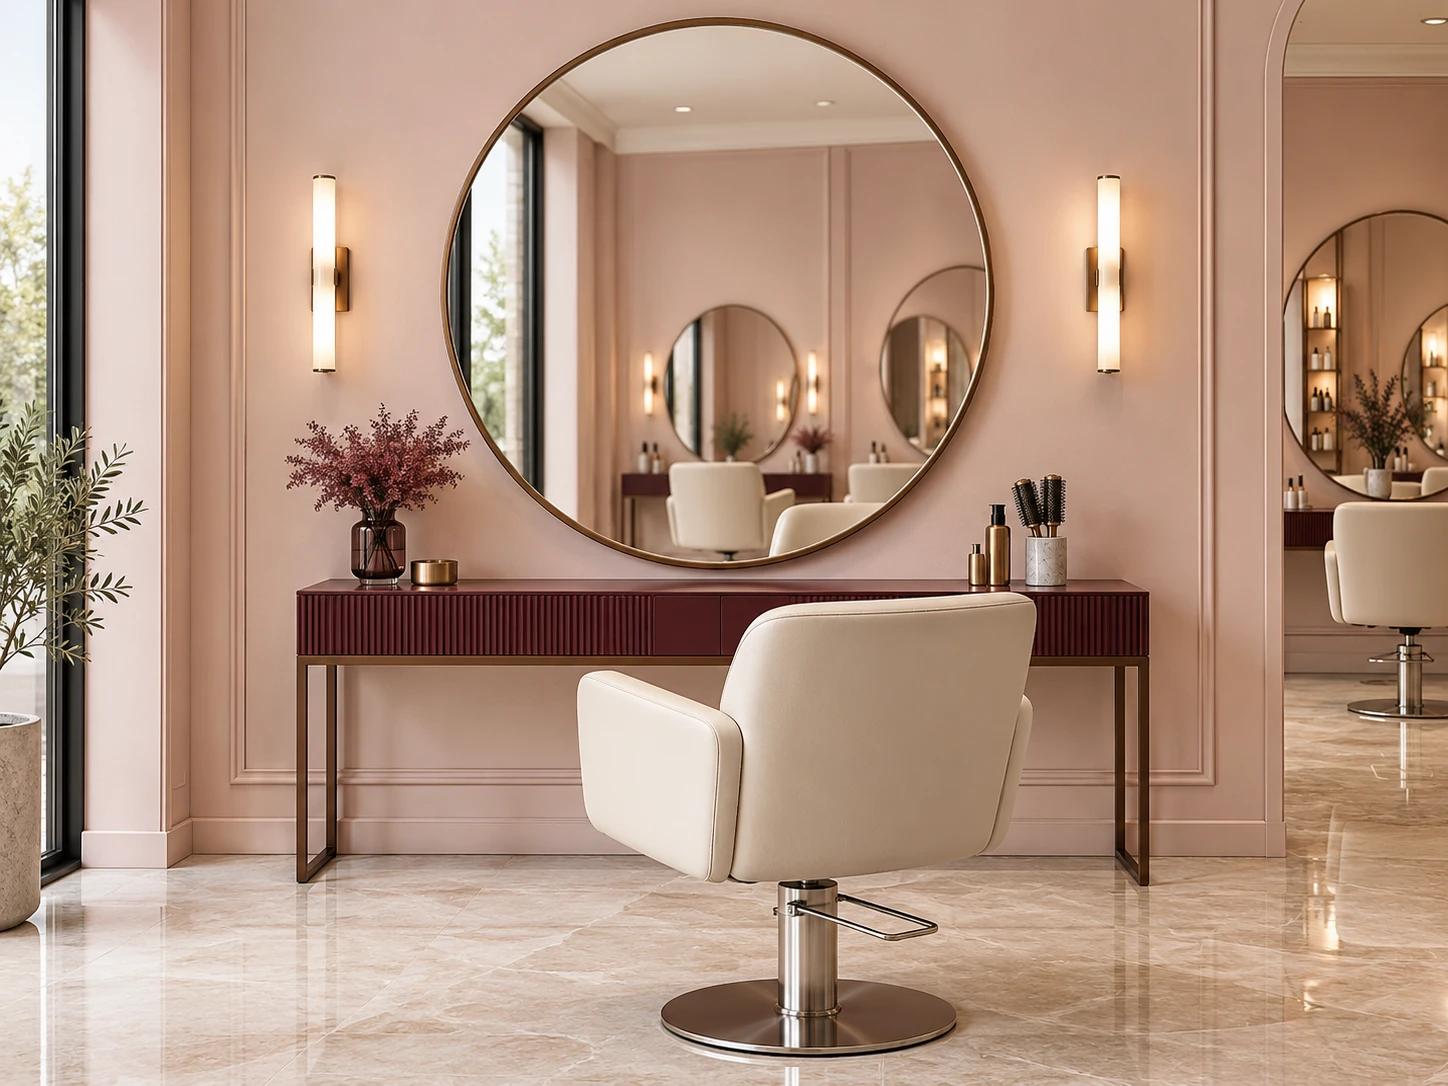
Metal frame / Non-lit
A circular bronze outline suits compact boutique stations. Separate room lighting provides the task illumination.
Confirm the diameter, reflective area, finish and relationship to wall lights.
Build This Brief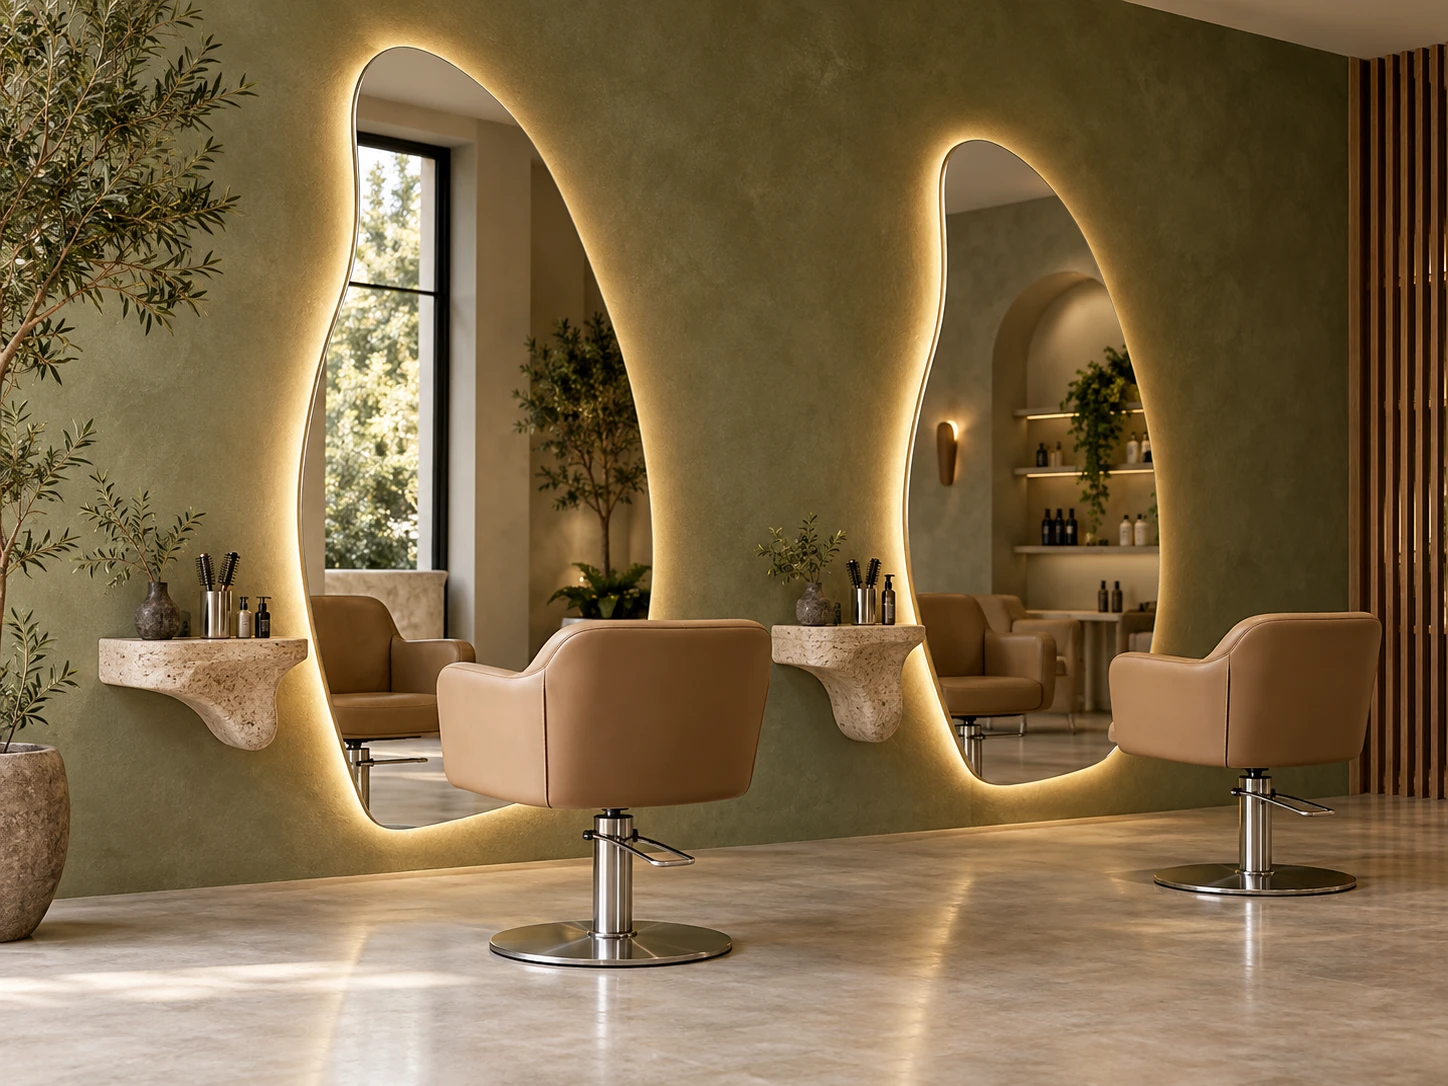
Freeform / Backlit
A flowing silhouette becomes a distinctive element in a salon brand’s interior. Rear light traces the contour.
Approve a dimensioned outline and check usable reflection coverage.
Build This BriefAll images are design concept renders. Furniture and accessories illustrate the setting; confirm the exact mirror and accessory supply scope in your quotation.
COMPARE SALON INSTALLATIONS
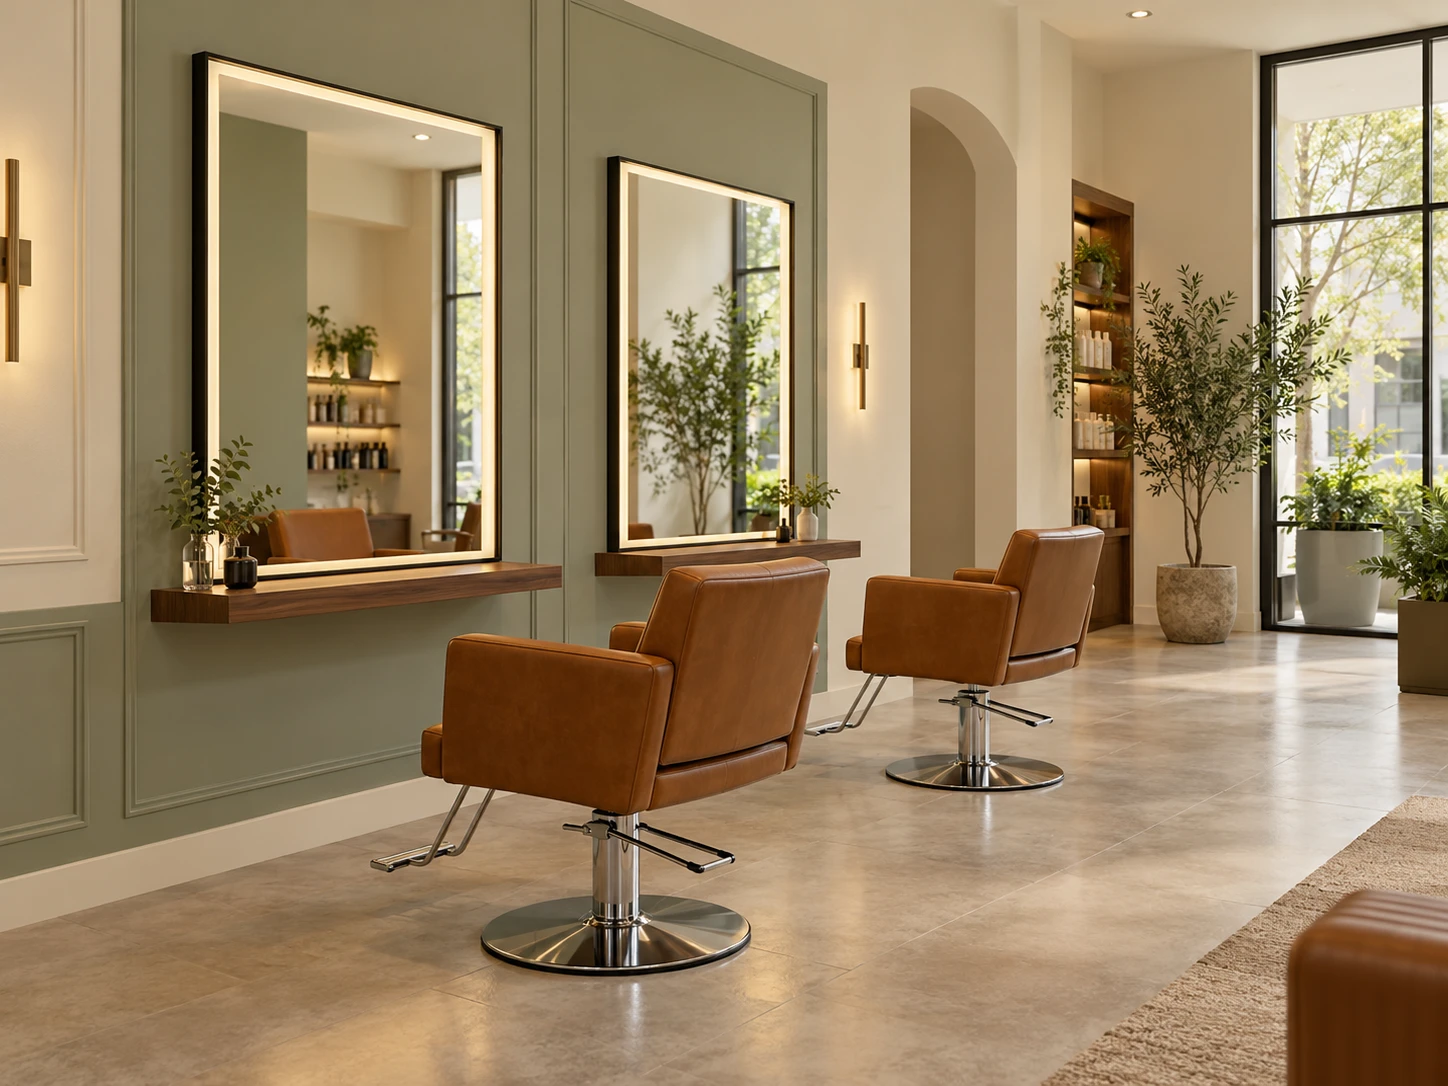
Loading layout preview…
Individual mirrors fixed along a wall, with a styling chair in front of each mirror. Keep the aisle behind the chairs clear and coordinate work ledges and cable exits.
single-face wall mirrors
2 styling positions
Select 2, 4 or 6 positions to update the layout image and your enquiry. Concept renders illustrate arrangements; final spacing follows your floor plan.
LIGHT FOR THE WORKING ENVIRONMENT
Specify the location and width of the diffused light band. Review facial illumination and glare from the seated client’s position.
Use a rear halo to accent the mirror and wall. It complements the room composition; it does not replace a task-lighting plan.
Pair a non-lit mirror with separately designed task and ambient lighting. Coordinate wall fixtures with the mirror edge and reflection zone.
For colour services, agree colour-rendering and light-output requirements and review a sample under your salon lighting. A colour-temperature label alone does not guarantee colour accuracy.
PRODUCT & STATION DETAILS
CUSTOMIZATION SCHEDULE
Overall width × height, mirror depth and useful reflection zone.
Rectangle, arch, round, pill or a supplied freeform outline.
Frameless or a defined metal profile, with finish sample reference.
Front light, rear halo or non-lit; CCT, dimming and controls if required.
Wall-mounted or island; fixings, structure and service route.
Model labels, instructions, carton identification and delivery grouping.
DRAWING & SITE COORDINATION
Provide wall construction and an elevation showing the chair, ledge and mirror. Confirm suitable fixing points and access to the electrical connection.
Confirm the base footprint, support structure and fixing responsibilities. Review stability, service routing and access from both sides.
Mark shelf heights, tool storage, cable openings and maintenance access. Agree tolerances and responsibilities with the furniture supplier.
Dimensions and installation methods are confirmed for the approved assembly and site conditions. The concept images are not installation instructions.
SALON GROUPS / CONTRACTORS / DISTRIBUTORS
Turn the floor plan into a station schedule. Identify each mirror type, finish and installation condition.
Use controlled model revisions and a location-by-location quantity list. Confirm where dimensions or finishes change.
Define a manageable range of sizes and options. Review packing, model labels and installation information for each SKU.
Agree packing for mirror edges and frames, separate hardware protection and shipment grouping. Commercial terms, production timing and any testing requirements follow the actual specification.
CUSTOM SALON MIRROR FAQ
Share the station schedule, floor plan and elevations. We can review mirror dimensions, lighting, finishes and mounting requirements as a coordinated brief. Chairs, cabinetry, ledges and accessories shown in concept images are not automatically included; confirm the supply scope in the quotation.
The stand, base and any floor fixing need to be defined as part of the assembly. Confirm which components are included, the service route and the project’s stability requirements before approving drawings or a sample.
Review the mirror light together with the salon’s ambient and task lighting. Colour temperature alone does not establish colour accuracy. Agree the required light performance and assess a sample in representative conditions before making a selection.
Yes. A range can share frame finishes and design cues while using different lighting and rear construction. Each variant needs its own approved dimensions, mounting details and packing specification.
These can be discussed as separate options. Confirm dimensions, loads, tool access and electrical requirements for the destination market. Accessories must be explicitly included in the approved specification and quotation.
The outline, size, frame construction, lighting, accessories, quantity and packaging all affect the proposal. Send quantities per model and the destination market; commercial terms and timing are confirmed against that brief.
START YOUR SALON MIRROR PROJECT
Send the station count, dimensions, finish direction and floor plan or elevation. We will review the mirror and any requested accessories as a clearly defined supply brief.
sales@mymirrorplus.com