
Make light part of the product.
Front-lighted, backlit or dual-light layouts, with a reviewed combination of controls, dimming and optional demister.
Explore the LED AssemblyMY MIRROR PLUS / CUSTOM PRODUCT DEVELOPMENT
From a signature silhouette to a coordinated product range. Develop illuminated and non-illuminated mirrors around your design, market and installation brief.
Discuss Your Design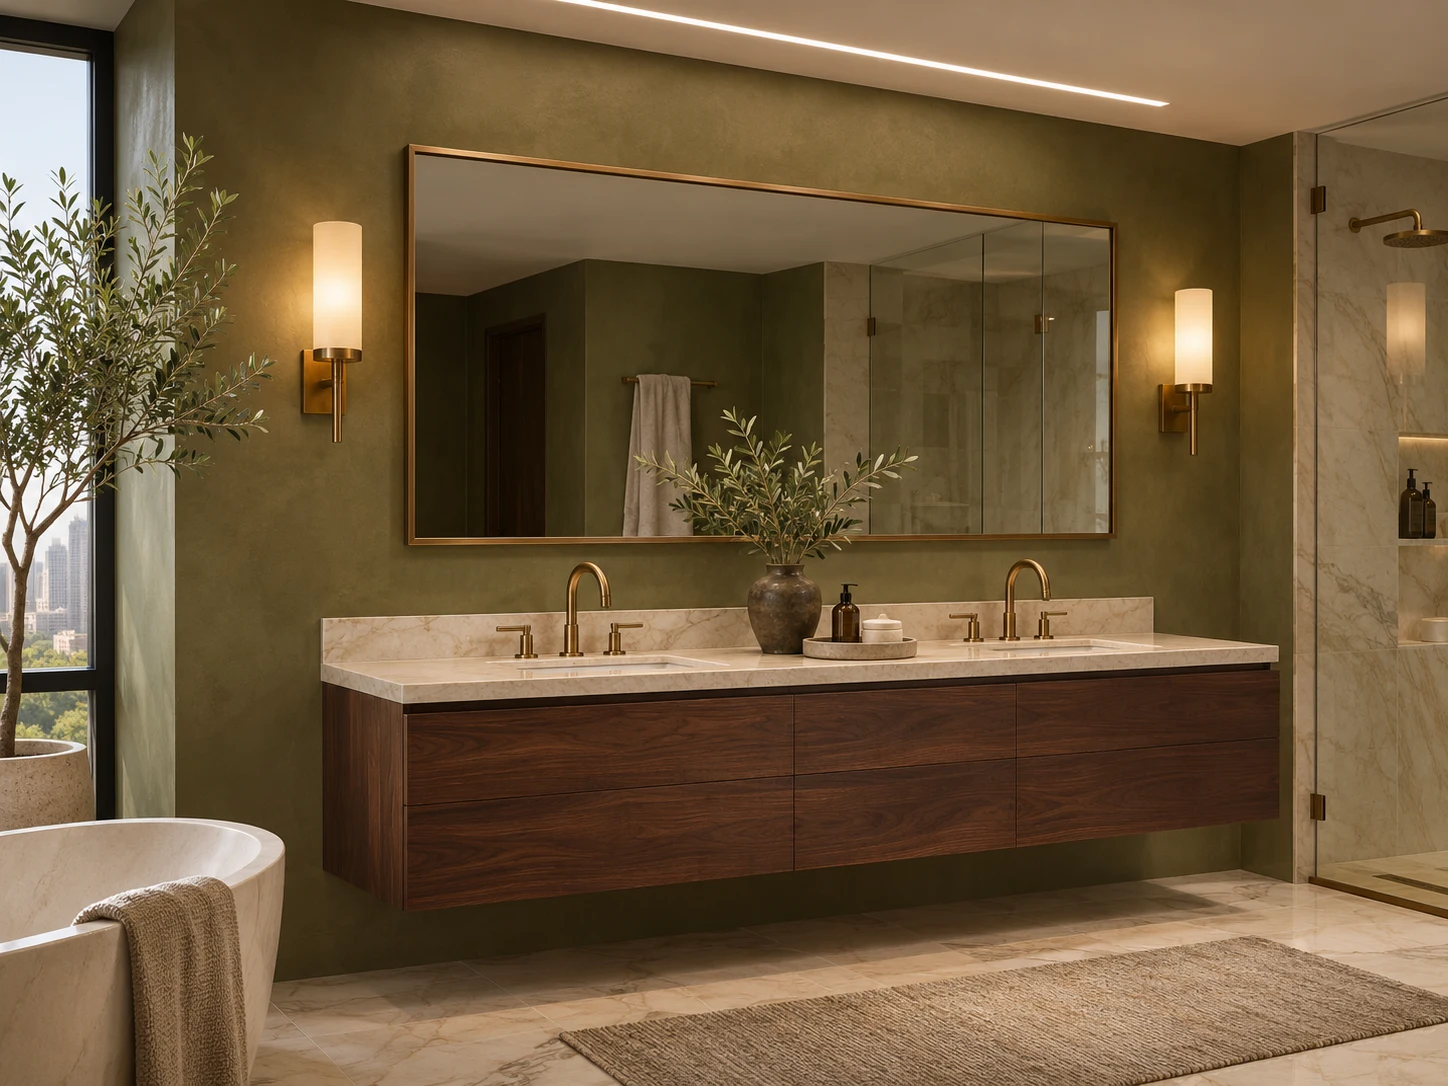
TWO PRODUCT DIRECTIONS
Choose the product architecture before selecting individual options. Non-lit designs are part of the same custom development service.
Front-lighted, backlit or dual-light layouts, with a reviewed combination of controls, dimming and optional demister.
Explore the LED AssemblyPolished frameless glass, metal frames or timber surrounds for bathrooms, dressing spaces and decorative collections.
Explore the Non-Lit AssemblyFOUR DISTINCT DESIGN BRIEFS
Concept visuals explore different materials, scales and settings. They are design directions, not photographs of completed customer projects.
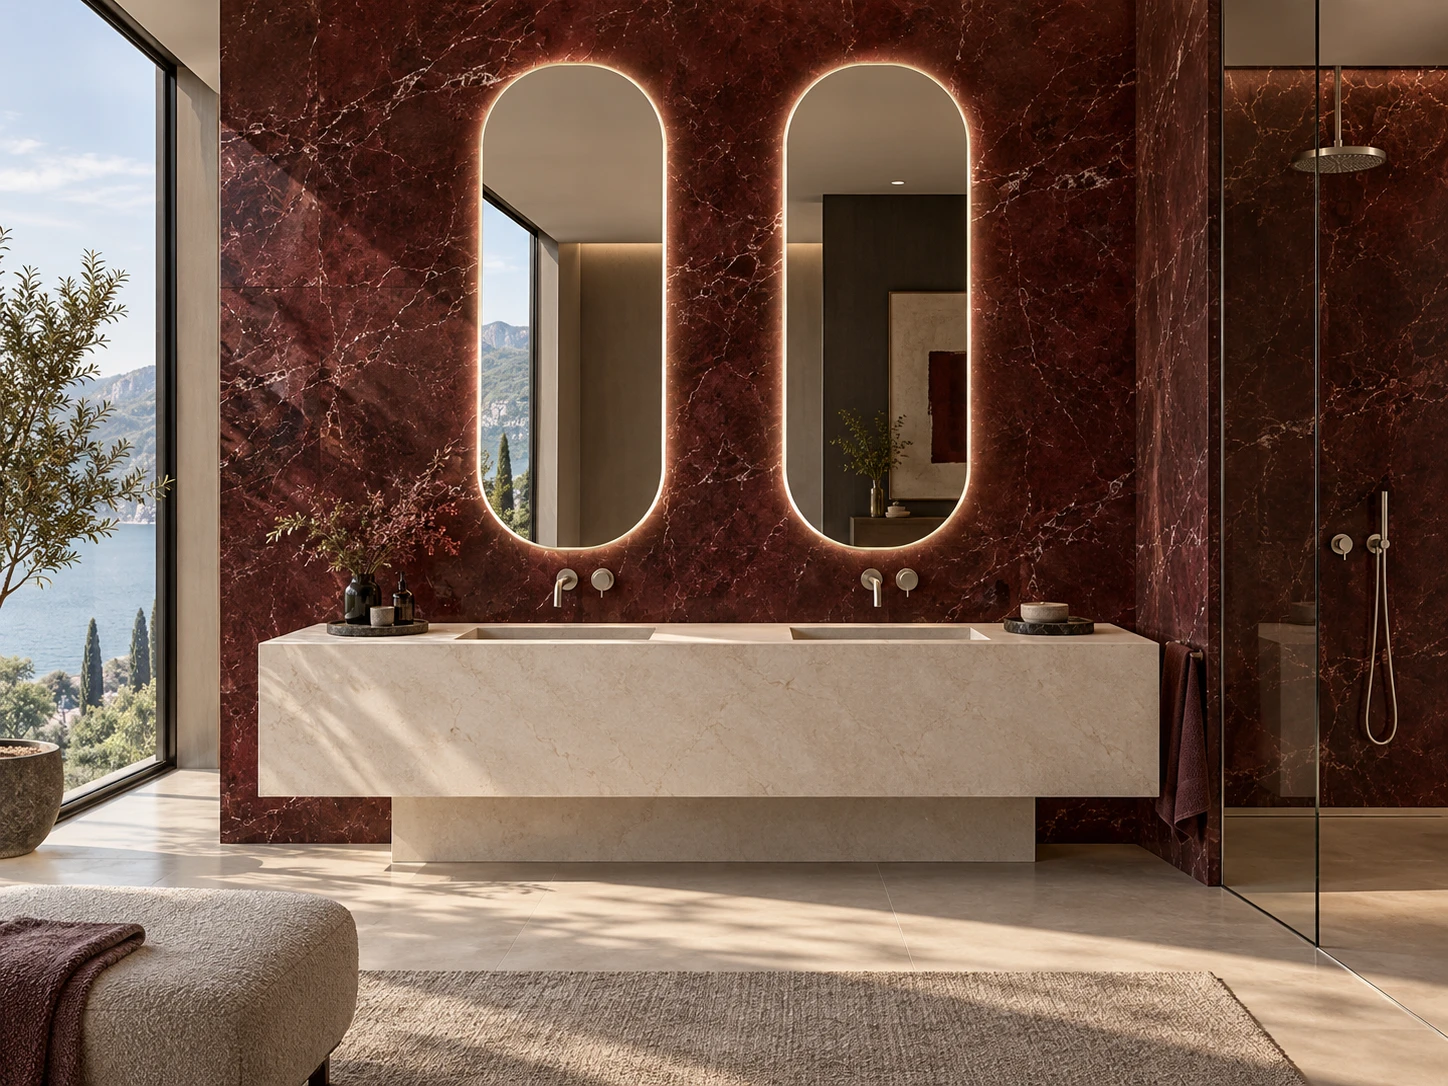
Illuminated / Hospitality
Pill-shaped front-lighted mirrors for a coordinated double vanity. Define spacing, light bands and control positions together.
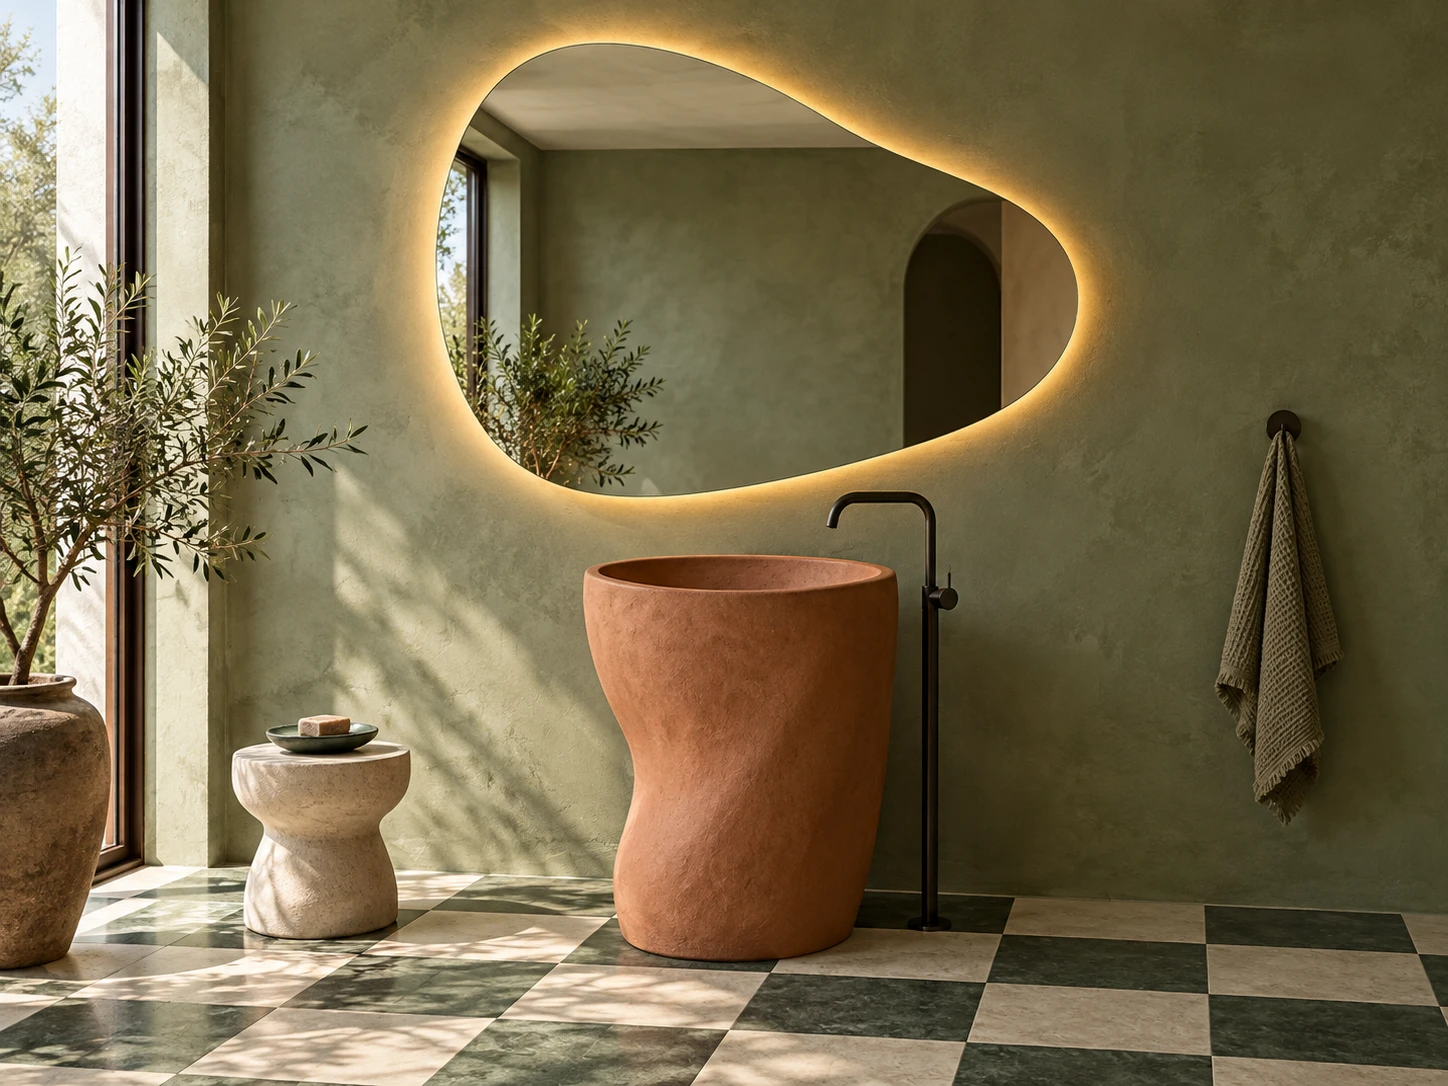
Illuminated / Signature shape
An organic outline with rear illumination. Review the contour, mounting balance and halo around tight curves.
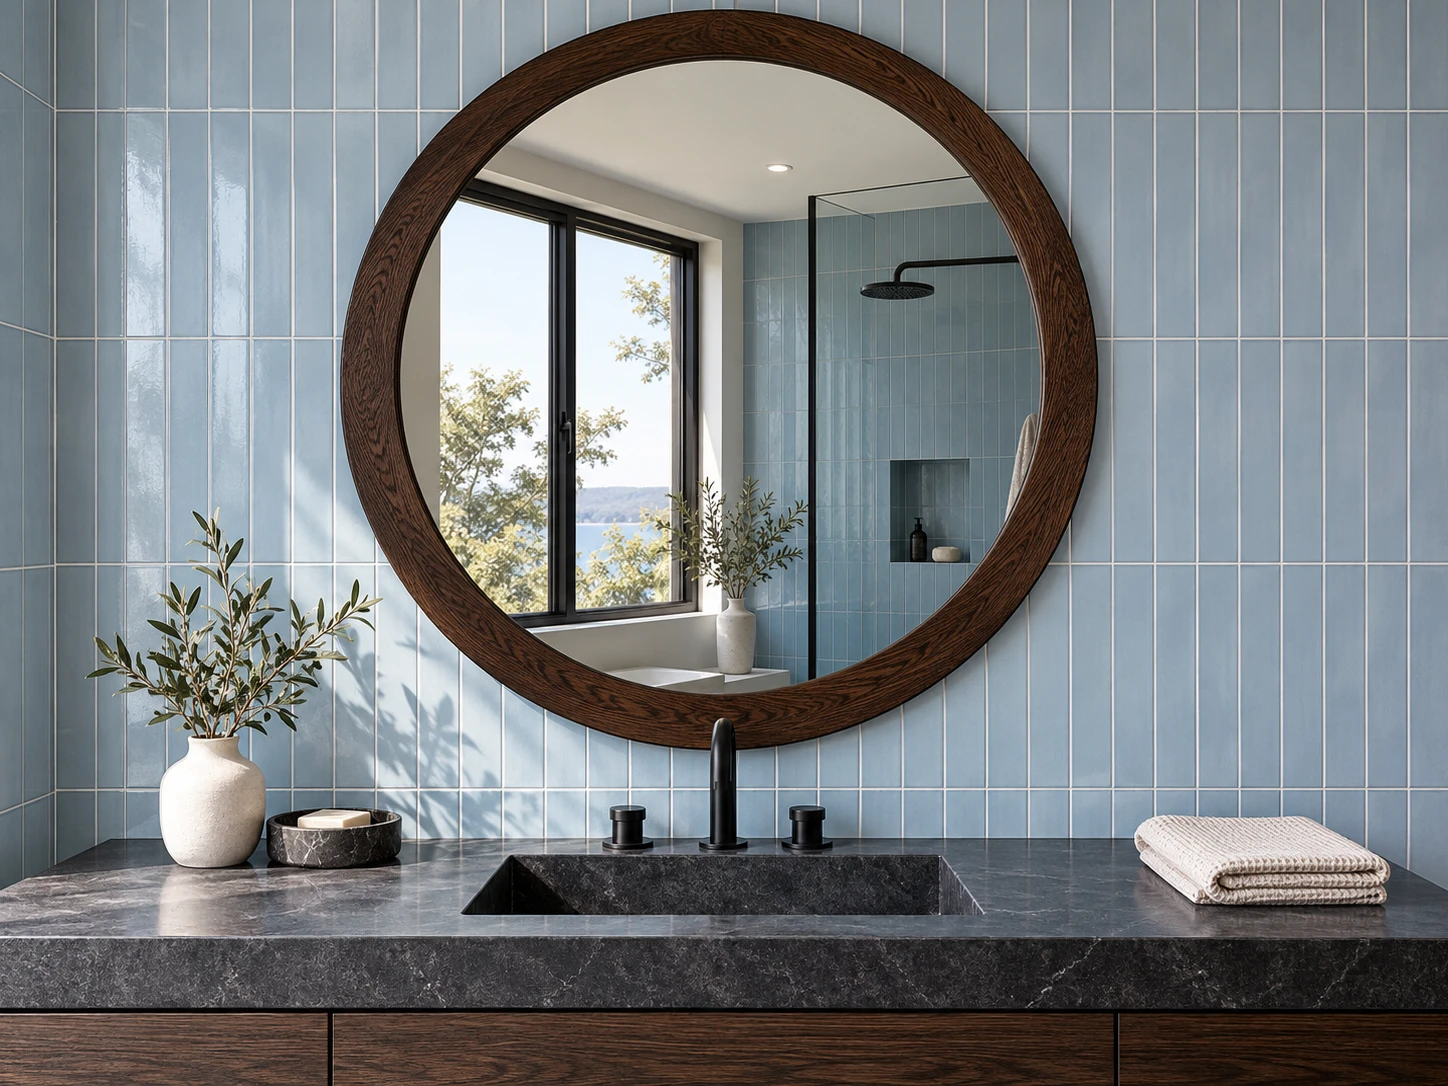
Non-illuminated / Material-led
A substantial timber surround and clear mirror glass. Specify the frame section, finish, edge protection and wall fixing.
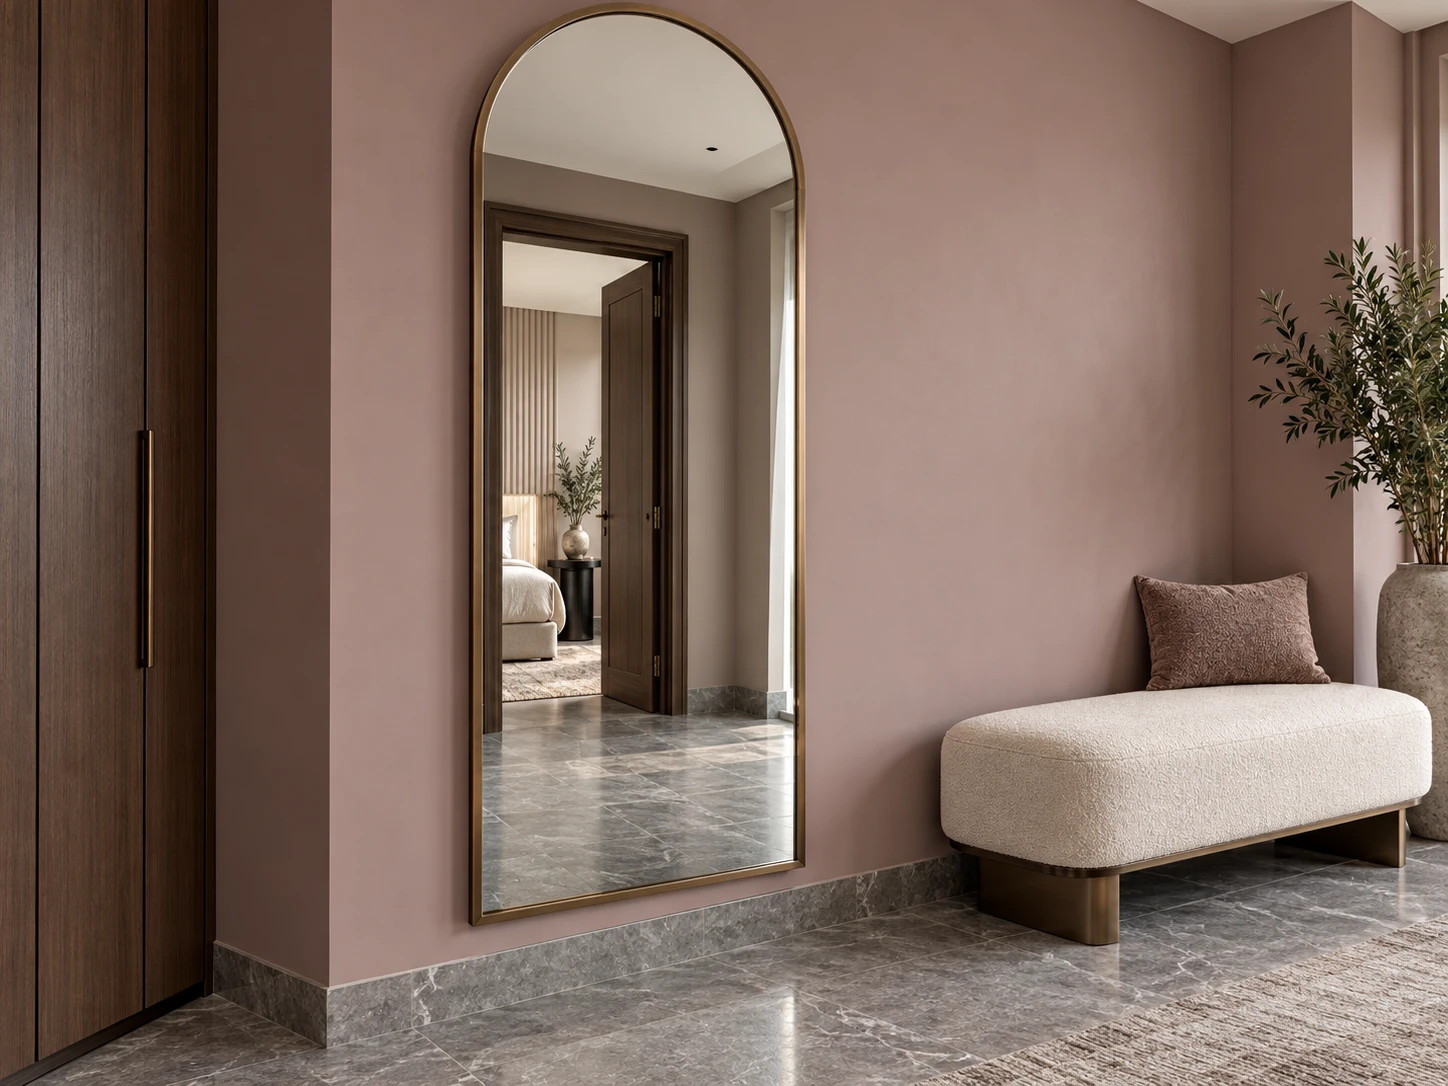
Non-illuminated / Full length
A tall arched mirror for dressing spaces. Agree overall weight, wall substrate, mounting arrangement and handling protection.
PRODUCT ANATOMY / 01 — ILLUMINATED
From reflective glass to the wall connection: specify the complete assembly, not only the visible light.
Exploded concept schematic. Layers are separated for explanation; geometry, sequence and component positions follow the approved model drawing. Not an installation guide.
The visible face
Define the outline, glass thickness, edge finish and clear reflection area. A front-lighted model also needs an agreed frosted light-band position.
Drawing: outer dimensions, corner radii, light-band width and touch-control location.
PRODUCT ANATOMY / 02 — NON-ILLUMINATED
A simpler product still needs a complete specification: glass, edge, retention and mounting all matter.
Exploded concept schematic. Layers are separated for explanation; geometry, sequence and component positions follow the approved model drawing. Not an installation guide.
Reflection without electronics
Agree glass type, thickness, edge quality and dimensions. Keep the visible glass size separate from the overall framed size.
Drawing: outline, edge treatment and clear viewing area.
GEOMETRY & PROPORTION
A silhouette is only the beginning. Specify the viewing area, overall size and fixing relationship to the vanity or wall.
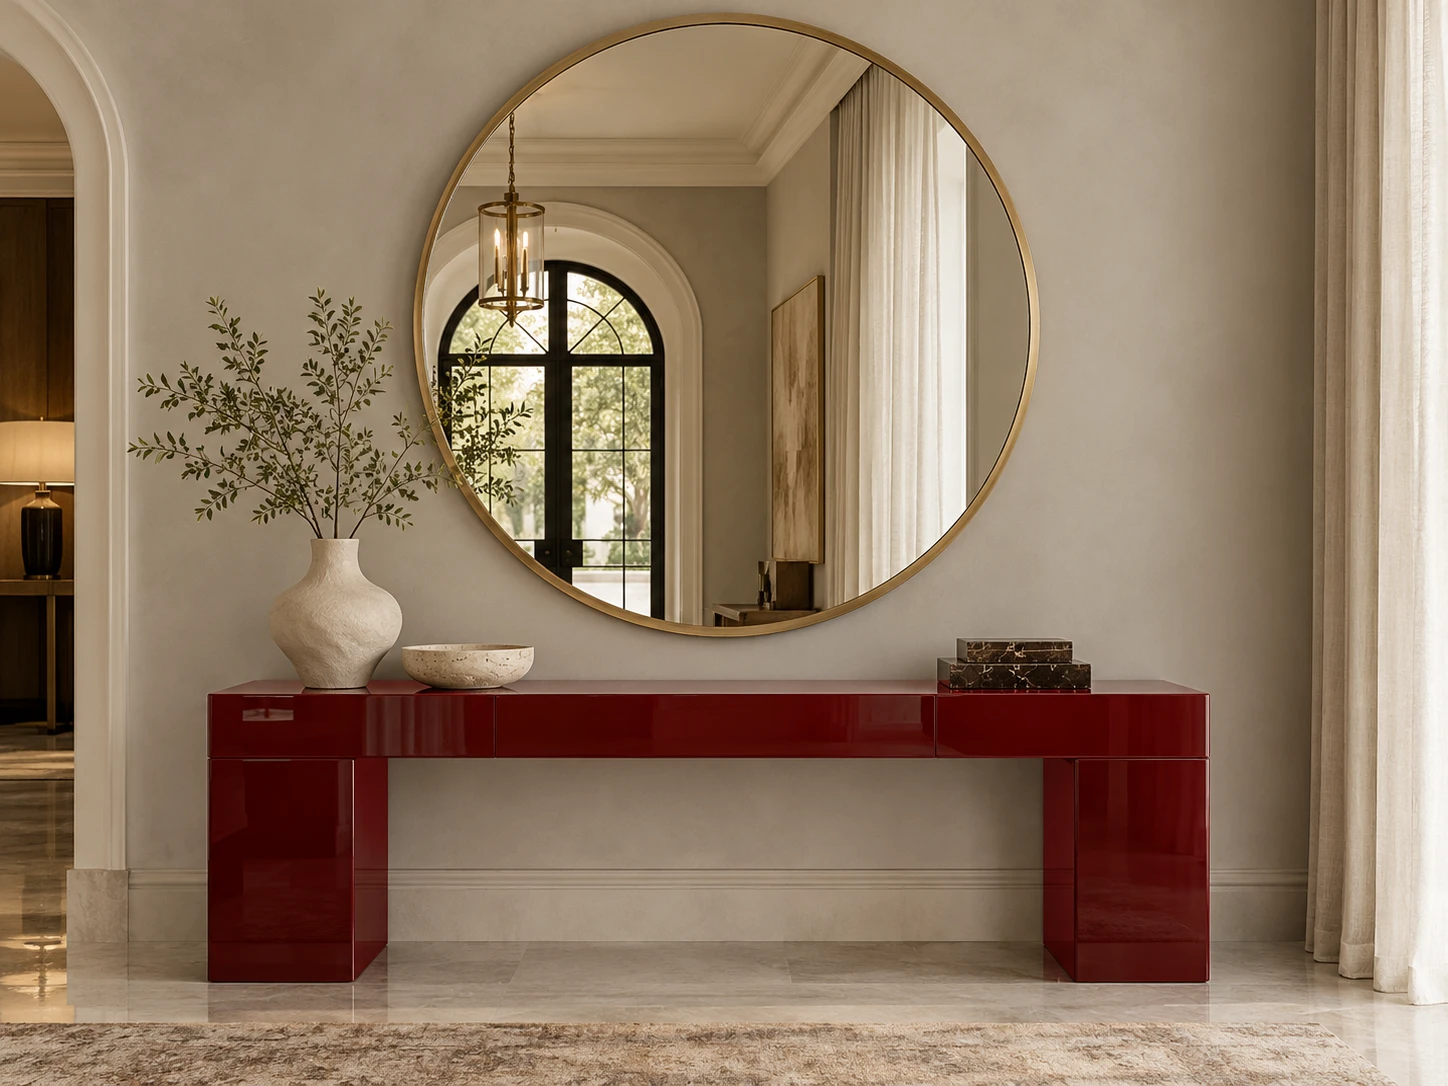
Provide width × height in mm, orientation, quantities per size and the available wall space. For round mirrors, state the diameter.
Share a dimensioned drawing or CAD outline for arches, corner radii and irregular shapes. A photograph alone does not define the contour.
Allow for frame depth, rear hardware, light clearance and removal access. State outer-frame size separately from clear glass size.
MATERIAL & FINISH DEVELOPMENT
ELECTRICAL OPTIONS / LED MODELS
Confirm which functions operate together, how they are controlled and how the product behaves after power is restored.
Front, rear or dual light
Confirm whether light layers switch and dim together or separately.
Fixed CCT or selectable white light
Agree CCT settings, dimming range and memory behaviour on the sample.
Touch, sensor or external switch
Define control positions, sensing behaviour and compatibility with site wiring.
Optional heated area
Confirm pad size, separate or linked operation and any timed shut-off requirement.
Power input and documentation
Review the intended destination, electrical specification and required compliance evidence for the model.
FROM CONCEPT TO ORDER
Keep one agreed specification across the drawing, sample, quotation and order. Record changes by revision so the approved details travel with the product.
Review drawings, quantities, destination, target timing and the intended environment. Identify details that need engineering review.
Agree the assembly, overall depth, fixings, electrical layout where applicable, and physical finish references.
Inspect the full assembled product: appearance, installation, functions and packaging. Record any changes before approval.
Confirm the approved revision, quantities by variant, artwork, packing and the agreed production and delivery schedule.
PRIVATE LABEL & PROJECT DELIVERY
Packaging, identification and installation information belong in the brief from the start.
Agree model numbers, branding position, labels and artwork. Separate size, finish and function variants clearly.
Review glass and corner protection, frame surface protection, hardware separation and the intended transport route.
Specify carton markings, room-type references, spare-part requirements and grouping by order or project phase.
BEFORE YOU SEND THE BRIEF
Both directions can be reviewed. A non-lit product omits electrical components, but still needs an agreed glass, frame, backing and fixing specification.
Yes, share the complete size and shape schedule. Each contour and frame construction needs its own feasibility and sample review; one approved shape does not automatically approve the whole range.
A dimensioned outline or CAD file, orientation, frame requirement, lighting direction and quantities. If starting from a reference image, the geometry must be resolved before production approval.
No. The glass area, rear depth, component spacing, driver and control system determine which combinations can be reviewed for a given model.
These depend on the construction, finish, tooling, quantity and approval stage. Request a quotation for your actual schedule rather than assuming a standard figure.
No. They explain assembly considerations. The approved product drawing, sample and order specification define the final materials, dimensions and component arrangement.
YOUR NEXT PRODUCT STARTS HERE
Share a sketch, drawing link or range brief with quantities. Include the destination market and the decisions you would like help resolving.
sales@mymirrorplus.comOEM / ODM · Wholesale · Private Label · Projects